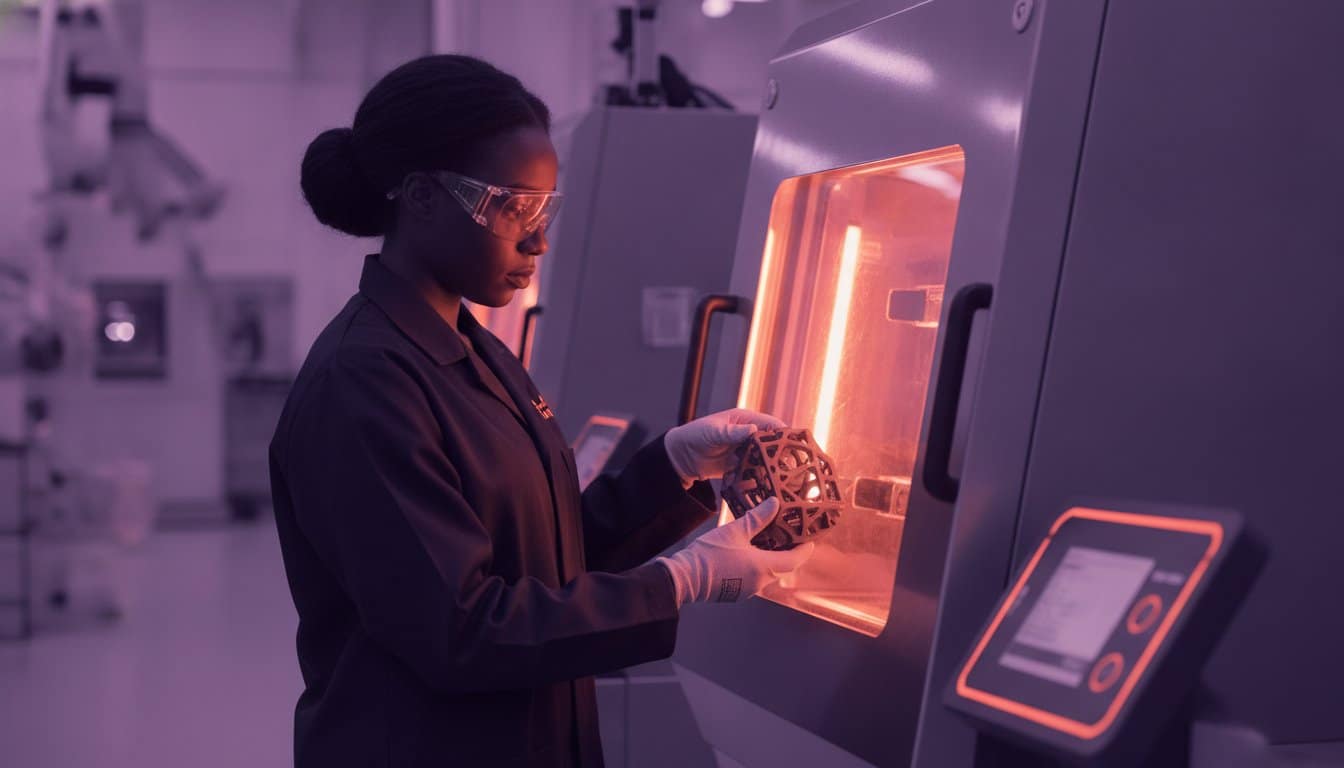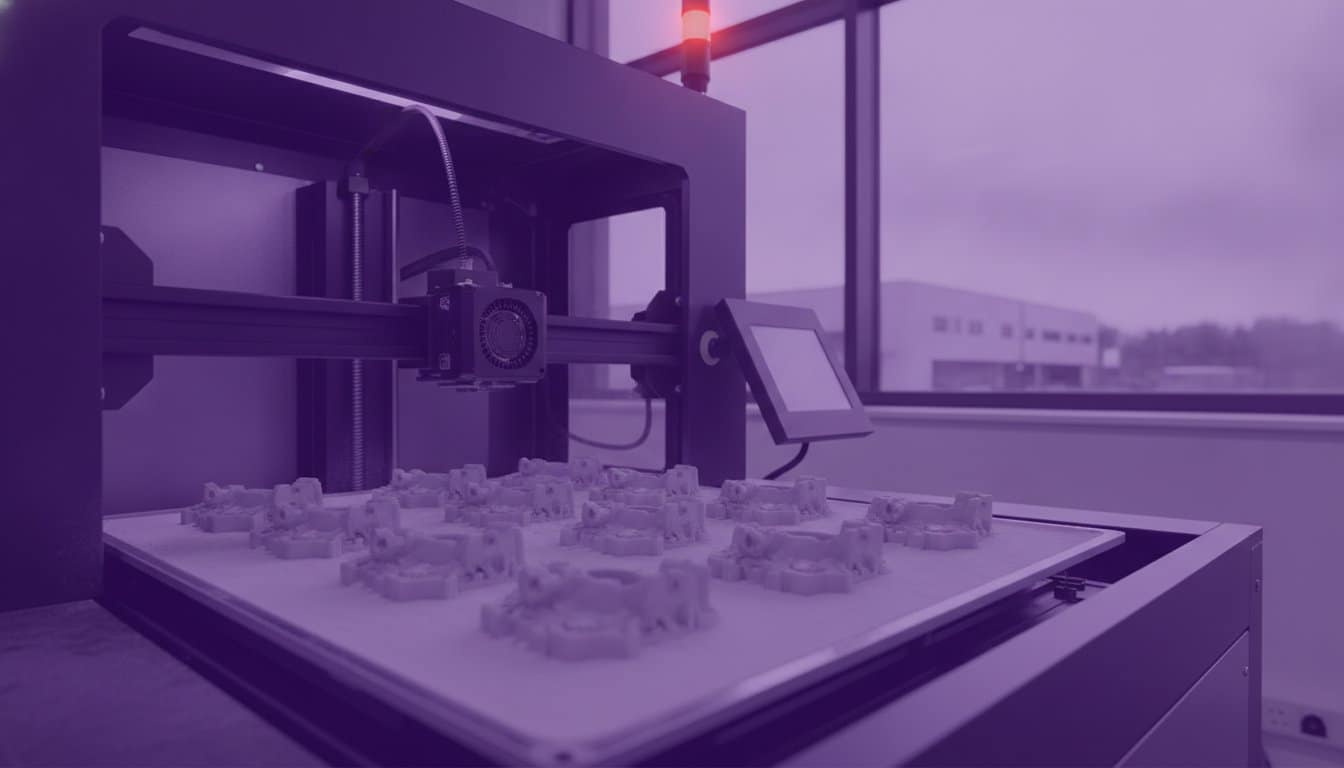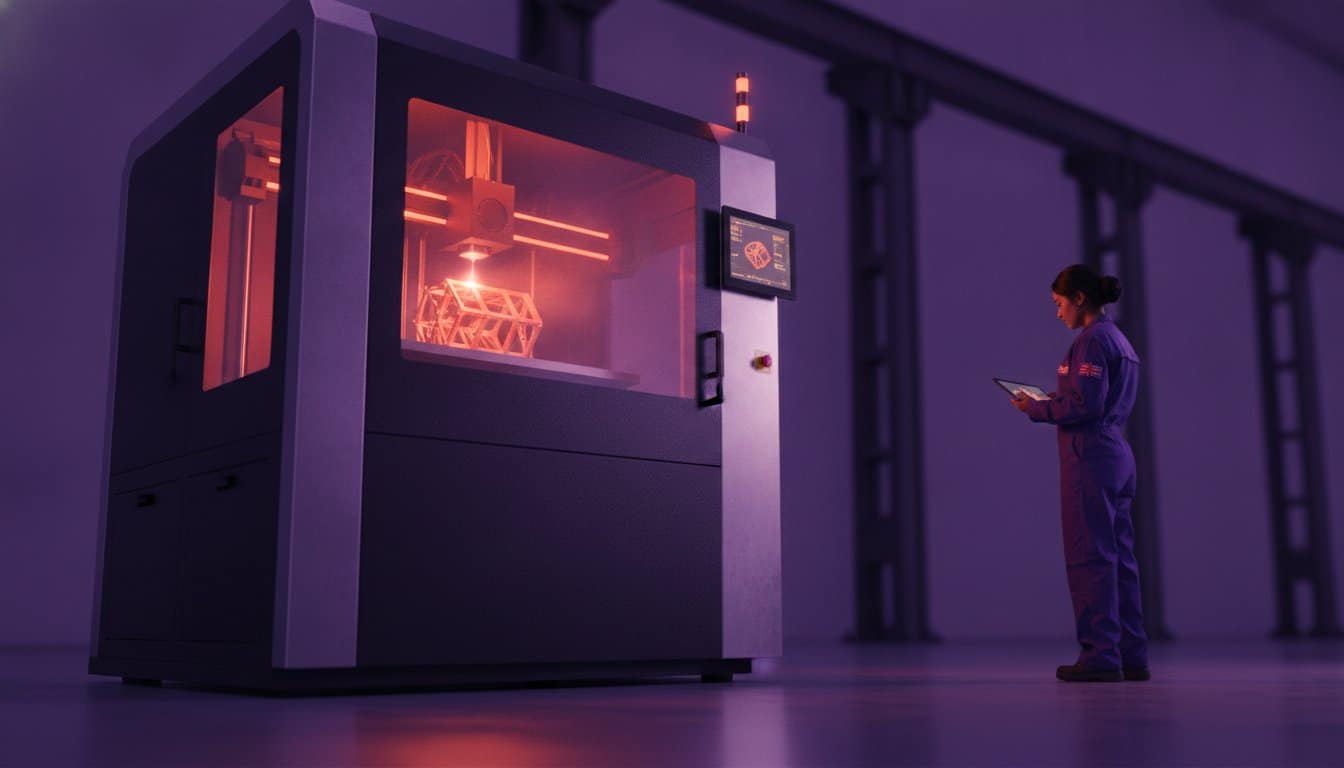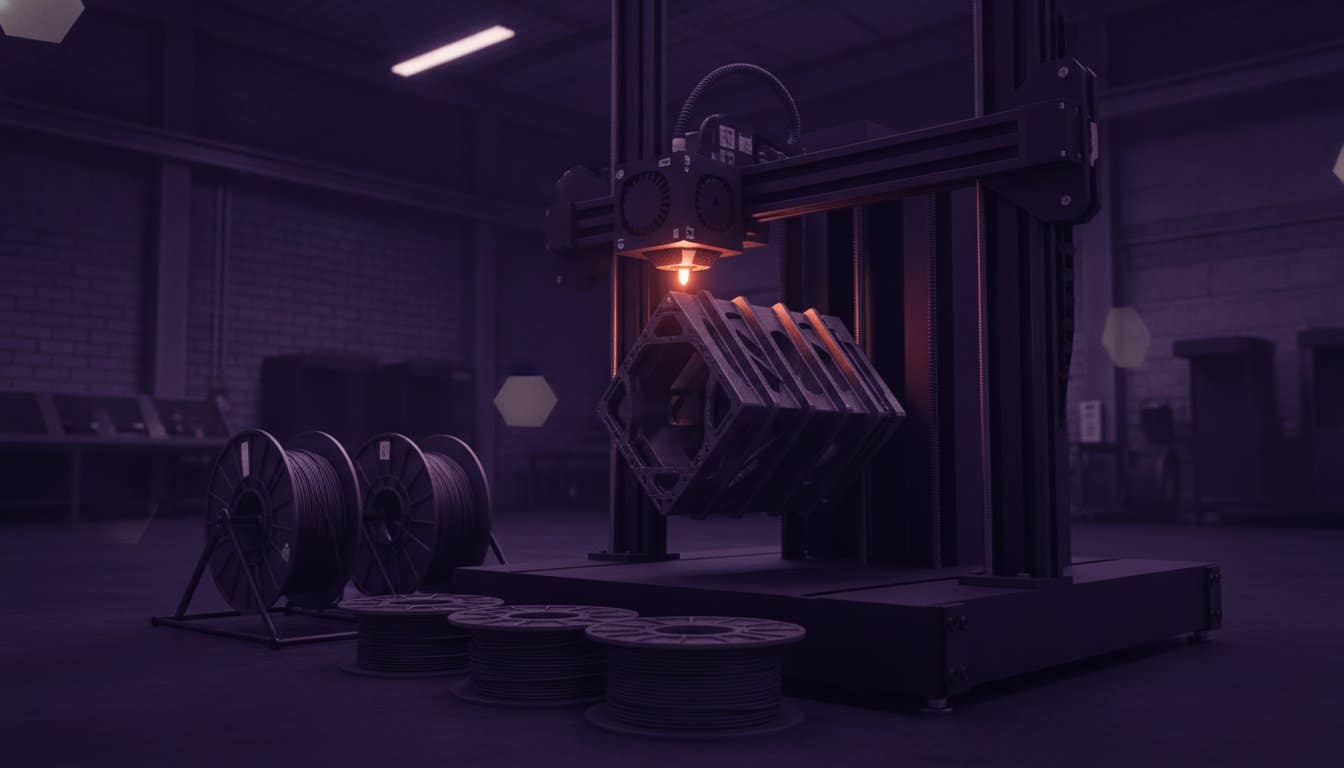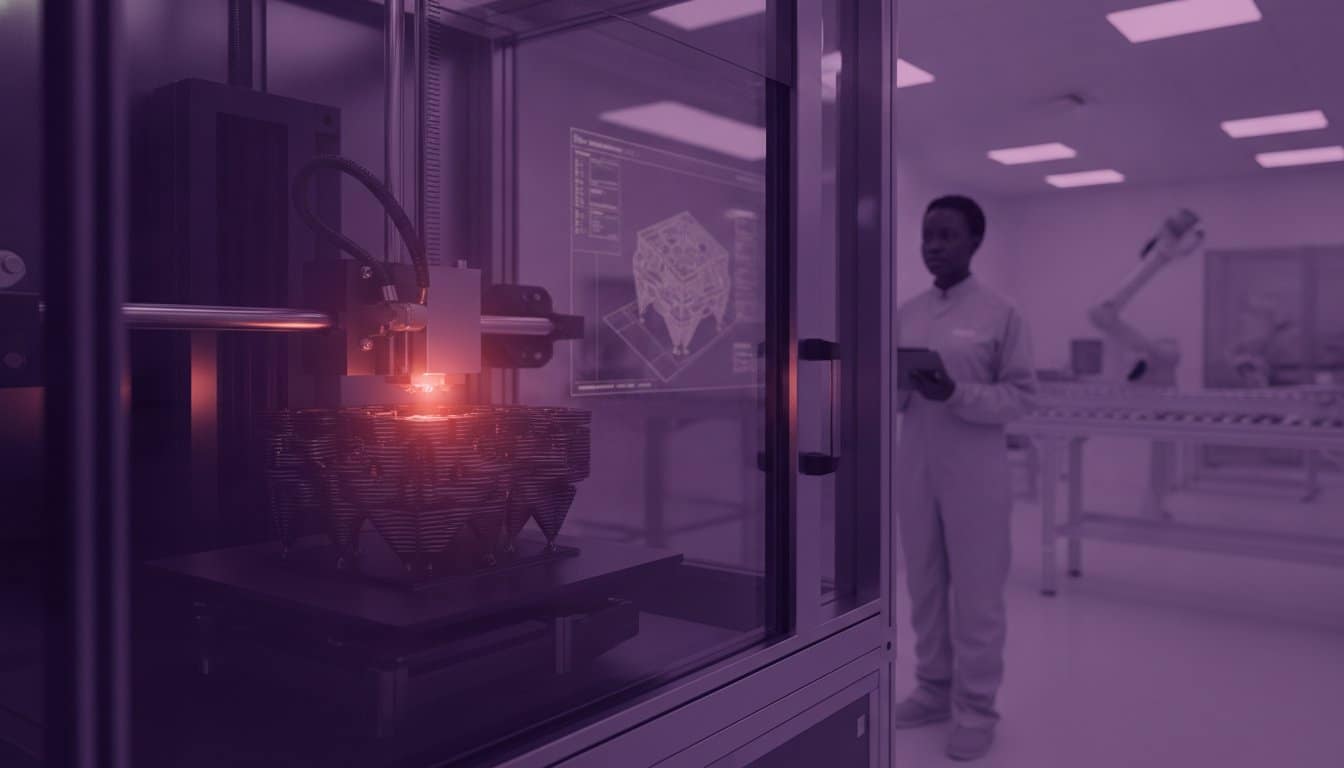
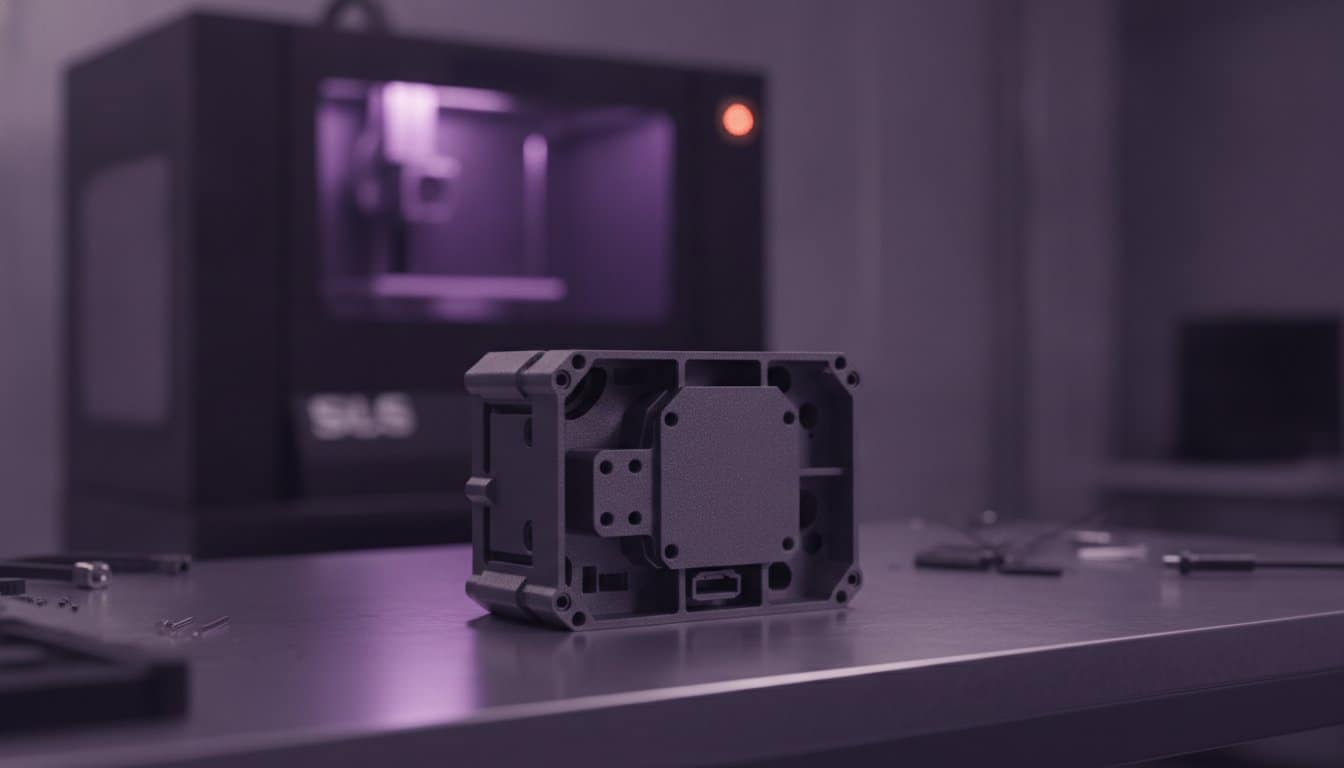
Settling for a generic off-the-shelf plastic box is a compromise that forces your engineering to fit the housing, rather than the housing protecting the engineering. You’ve likely spent hours drilling, filing, and hacking at standard cases, only to end up with a component that looks like a prototype whilst your project demands an industrial finish. Switching to custom 3d printed enclosures eliminates these manual modifications and bypasses the prohibitive costs of injection moulding tools for small batches. It’s time to stop adapting your electronics to fit a catalogue part and start building housing that’s engineered for your specific application.
We understand that lead times and precision are non-negotiable in modern product development. This guide provides a professional roadmap for transitioning from restrictive, standard cases to bespoke, high-performance housing designed for rapid production. You’ll discover how to achieve a professional aesthetic and perfect fit without the traditional manufacturing delays. We’ll examine the technical requirements for industrial enclosures, from IP ratings to material selection, ensuring your final product is market-ready in days, not months.
Key Takeaways
- Eliminate the structural compromises and labour-intensive modifications associated with standard off-the-shelf housing.
- Select the correct industrial material and technology to balance professional surface finish with mechanical durability.
- Optimise your production costs by using custom 3d printed enclosures for batch sizes where traditional injection moulding is too expensive.
- Accelerate your market entry by transitioning rapidly from iterative prototypes to final industrial-grade production.
- Leverage professional design services to solve complex engineering problems and ensure a perfect fit for every internal component.
Why Custom 3D Printed Enclosures Outperform Off-the-Shelf Solutions
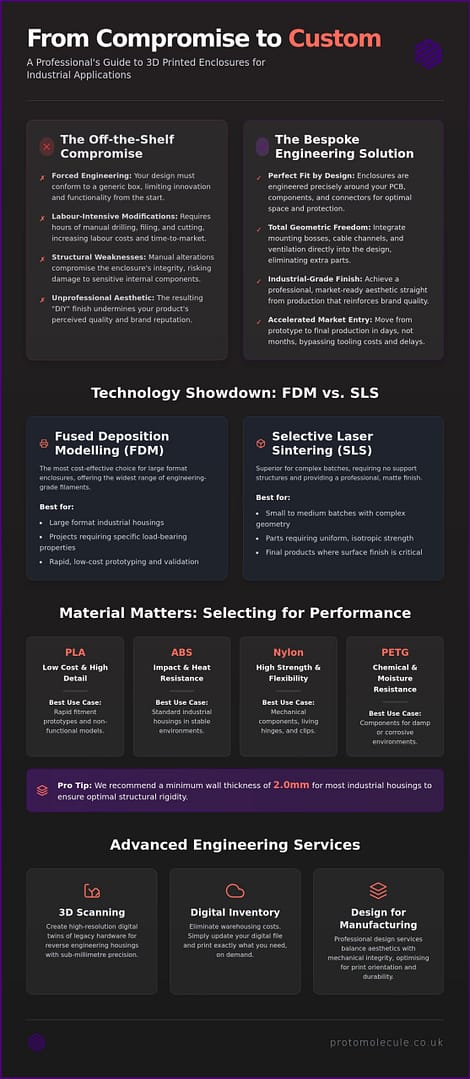
Choosing to use custom 3d printed enclosures represents a fundamental shift from reactive to proactive engineering. Instead of forcing your PCB into a pre-moulded box, you design the housing specifically around your electronics. Off-the-shelf cases often require manual drilling or milling to accommodate ports and connectors. This process introduces structural weaknesses and results in a DIY aesthetic that undermines professional branding. It’s an expensive use of labour that yields a sub-standard result.
Bespoke 3D printing offers total geometric freedom. You can integrate mounting bosses, intricate cable management channels, and specifically placed ventilation ports directly into the CAD model. This eliminates the need for secondary brackets or adhesive mounts. Whilst a standard 3D printer enclosure is designed to protect a machine, a custom housing is designed to protect your intellectual property. Additionally, your designs exist as a “Digital Inventory.” You don’t need to warehouse hundreds of units; you simply update the file and print exactly what you need, when you need it.
The Role of 3D Scanning in Perfect Fitment
One of the greatest challenges in industrial housing is fitting a new case to legacy hardware or complex, non-standard PCBs. Our 3D scanning services bridge this gap by creating high-resolution digital twins of your physical components. This allows for the reverse engineering of a housing with sub-millimetre precision. Whilst competitors often focus solely on fitting a simple rectangular board, we ensure every connector and heat sink aligns perfectly, even when dealing with irregular industrial components.
Design for Manufacturing (DfM) for Housings
A successful enclosure must balance aesthetics with mechanical integrity. Using professional 3D design services is essential to account for print orientation and support structures. For instance, whilst some claim Powder Bed Fusion is the only professional route, high-strength FDM is often superior for substantial industrial housings that require specific load-bearing properties. Proper DfM ensures your custom 3d printed enclosures look professional whilst maintaining the durability required for harsh environments.
Selecting Materials and Technologies for Industrial Enclosures
Selecting the correct material for custom 3d printed enclosures is a decision that dictates the operational lifespan of your electronics. Industrial applications demand specific mechanical properties to withstand heat, impact, and chemical exposure. You must prioritise the environment where the housing will function. For instance, outdoor sensors require UV-resistant materials like ASA to prevent degradation, whilst high-performance computing units need materials with high thermal deflection temperatures to prevent warping.
Wall thickness is your first line of defence. We recommend a minimum wall thickness of 2.0mm for most industrial housings to ensure structural rigidity. Adding internal ribbing allows for thinner walls without sacrificing strength, which reduces both material volume and lead times. If your project requires extreme thermal management or electromagnetic shielding, you might even consider an aluminum alloy 3D printed chassis for maximum protection in aerospace or defence sectors.
FDM vs SLS: Which is Right for Your Batch?
Fused Deposition Modelling (FDM) remains the most cost-effective choice for large format enclosures and offers the widest range of engineering-grade filaments. Selective Laser Sintering (SLS) is often superior for complex batches because it requires no support structures, allowing for isotropic strength and a professional, matte finish straight from the machine. Consult our Fast Turnaround 3D Printing Service to determine the optimal technology for your specific production volume.
| Material | Primary Benefit | Best Use Case |
|---|---|---|
| PLA | Low cost and high detail | Rapid fitment prototypes |
| ABS | Impact and heat resistance | Standard industrial housings |
| Nylon | High strength and flexibility | Mechanical components and clips |
| PETG | Chemical and moisture resistance | Damp or corrosive environments |
Advanced Materials for Harsh Environments
Sensitive electronics often require protection beyond simple physical housing. We utilise specialised ESD-safe materials to prevent static discharge from damaging internal components during handling or operation. Ingress Protection (IP) ratings define how effectively an enclosure seals against solids and liquids, which we achieve by designing precise grooves for 3D printed TPU gaskets. These technical considerations ensure your custom 3d printed enclosures perform reliably in the most demanding conditions.
This level of technical detail is essential for British manufacturers like PureH2O Ltd, whose high-end water purification systems and smart taps require robust, moisture-resistant enclosures to protect their internal electronics.
Scaling from Prototype to Batch Production
Scaling custom 3d printed enclosures from a single unit to a production run requires a strategic approach to manufacturing. Traditional injection moulding often demands significant upfront tooling costs, making it unviable for small to medium batches. 3D printing occupies the “sweet spot” for production runs between 1 and 500 units. This allows UK startups and industrial firms to bypass the rigid constraints of traditional manufacturing. By utilising rapid prototyping, you can iterate your design through multiple physical versions in a single week. This ensures the final batch is flawless before you commit to a larger run.
The speed advantage is undeniable. Whilst traditional routes take months to deliver a bespoke housing, we move from a CAD file to a batch of 50 units in just a few days. This agility is vital for market testing or fulfilling urgent industrial contracts where delays result in lost revenue. Transitioning to our batch production services ensures that every unit maintains the same high-performance standards as your initial prototype. It’s the most efficient path to commercial product launches.
Post-Processing and Branding Your Enclosures
Industrial enclosures must look as good as they perform. We offer professional post-processing options such as vapour smoothing to remove layer lines and industrial painting for a premium finish. To ensure longevity in assembly, we recommend heat-set inserts. These provide robust metal threads for repeated opening and closing without damaging the plastic. You can also embed your branding directly into the geometry by including embossed logos or unique serial numbers within the 3D print itself.
The Protomolecule Workflow: Design to Delivery
We’ve streamlined our process to handle the technical CAD work so you don’t have to. Our four-step workflow ensures precision at every stage:
- Consultation: We define your mechanical and environmental requirements.
- Design/Scan: We create or reverse engineer your enclosure with sub-millimetre accuracy.
- Prototyping: Rapid iteration to verify fitment and function.
- Final Batch Production: High-speed fulfilment of your finished custom 3d printed enclosures.
Ready to accelerate your project? Get an instant quote for your custom enclosure project today.
Accelerate Your Industrial Housing Production
Transitioning from restrictive off-the-shelf cases to bespoke housing is the most efficient way to protect your electronics whilst maintaining a professional brand. You’ve seen how custom 3d printed enclosures eliminate the need for messy manual modifications and provide the geometric freedom required for complex internal components. By choosing the right industrial-grade materials and leveraging advanced FDM or SLA technology, you ensure your product is ready for the rigours of the field without the delays of traditional tooling. This approach allows you to iterate rapidly and maintain a competitive edge in fast-moving markets. To explore how to scale your project from design to mass production, visit Keiteq Co Ltd for specialist manufacturing and development support.
Protomolecule provides specialist engineering support for high-stakes military and aerospace projects, ensuring uncompromising standards in every build. We prioritise your project deadlines with rapid turnaround times for UK-wide delivery, moving you from a digital design to a production batch in days. It’s time to stop compromising on fit and finish. Request a Quote for Your Industrial Housing today and take full control of your product’s physical design. We look forward to engineering your next solution and helping you scale with precision.
Frequently Asked Questions
Can 3D printed enclosures be made waterproof?
Yes, achieving a waterproof finish depends on the design of the mating surfaces and the choice of post-processing. Whilst a raw 3D print may contain microscopic gaps between layers, applying industrial sealants or using vapour smoothing creates an impermeable surface. We typically integrate mechanical seals and compressed gaskets into the housing design to meet specific Ingress Protection standards. This ensures your electronics remain protected during temporary immersion or exposure to heavy spray.
What is the best material for a heat-resistant electronics case?
ABS and ASA are the primary choices for heat-resistant cases because they offer high thermal deflection temperatures and excellent structural stability. If your application involves extreme internal heat generation or high ambient temperatures, specialised materials like Nylon or carbon-fibre composites provide even greater resistance. For the most demanding industrial environments, we utilise high-performance polymers that maintain their mechanical properties well above 100°C. This prevents the housing from warping during prolonged operation.
How do I add metal threads to a 3D printed enclosure?
Heat-set brass inserts are the most reliable way to add durable metal threads to custom 3d printed enclosures. These inserts are pressed into pre-designed pilot holes using a thermal tool, which melts the plastic locally to create a high-strength mechanical bond. This method offers far superior pull-out resistance compared to tapping directly into the plastic or using self-tapping screws. It allows for repeated assembly and disassembly without the risk of stripping the threads during maintenance.
Is 3D printing cheaper than injection moulding for custom cases?
3D printing is considerably more cost-effective for batch sizes ranging from a single prototype up to approximately 500 units. The primary advantage is the total elimination of upfront tooling costs, which for injection moulding can reach thousands of pounds for a single design. This allows you to allocate your budget toward refined engineering and rapid market entry rather than expensive moulds. Injection moulding only becomes the cheaper alternative when moving into high-volume mass production where tooling costs are amortised over thousands of parts.